The driver installation directory is typically located at C:\Program Files (x86)\Autokent MVCI MultiDriver X64\ . Device Manager should now show the device without yellow warning icons.
Right-click the alert item, click Update Driver, and direct the search index specifically to the Autokent installation directory.
Sometimes, simply plugging the cable into a different USB port forces a driver refresh. Conclusion
The package is essential for anyone running Toyota Techstream on a modern 64-bit laptop. By automating the installation and patching the registry, it removes the headache of "driver not found" errors and allows you to focus on diagnosing your vehicle rather than fighting with your computer. Always ensure you are using the latest version of the driver package for the best compatibility with Windows 10 and 11.
Ensure that the "Device List" shows your USB cable and that the J2534 driver is properly registered. 4. Configure Toyota Techstream Open . Go to Setup > VIM Select . Select "XHorse - MVCI" (or Autokent VIM if prompted). Click OK . Troubleshooting Autokent MVCI Driver x64 Fixed Issues
Autokent Mvci Multi Driver X64 Fixed Jun 2026
The driver installation directory is typically located at C:\Program Files (x86)\Autokent MVCI MultiDriver X64\ . Device Manager should now show the device without yellow warning icons.
Right-click the alert item, click Update Driver, and direct the search index specifically to the Autokent installation directory.
Sometimes, simply plugging the cable into a different USB port forces a driver refresh. Conclusion
The package is essential for anyone running Toyota Techstream on a modern 64-bit laptop. By automating the installation and patching the registry, it removes the headache of "driver not found" errors and allows you to focus on diagnosing your vehicle rather than fighting with your computer. Always ensure you are using the latest version of the driver package for the best compatibility with Windows 10 and 11.
Ensure that the "Device List" shows your USB cable and that the J2534 driver is properly registered. 4. Configure Toyota Techstream Open . Go to Setup > VIM Select . Select "XHorse - MVCI" (or Autokent VIM if prompted). Click OK . Troubleshooting Autokent MVCI Driver x64 Fixed Issues
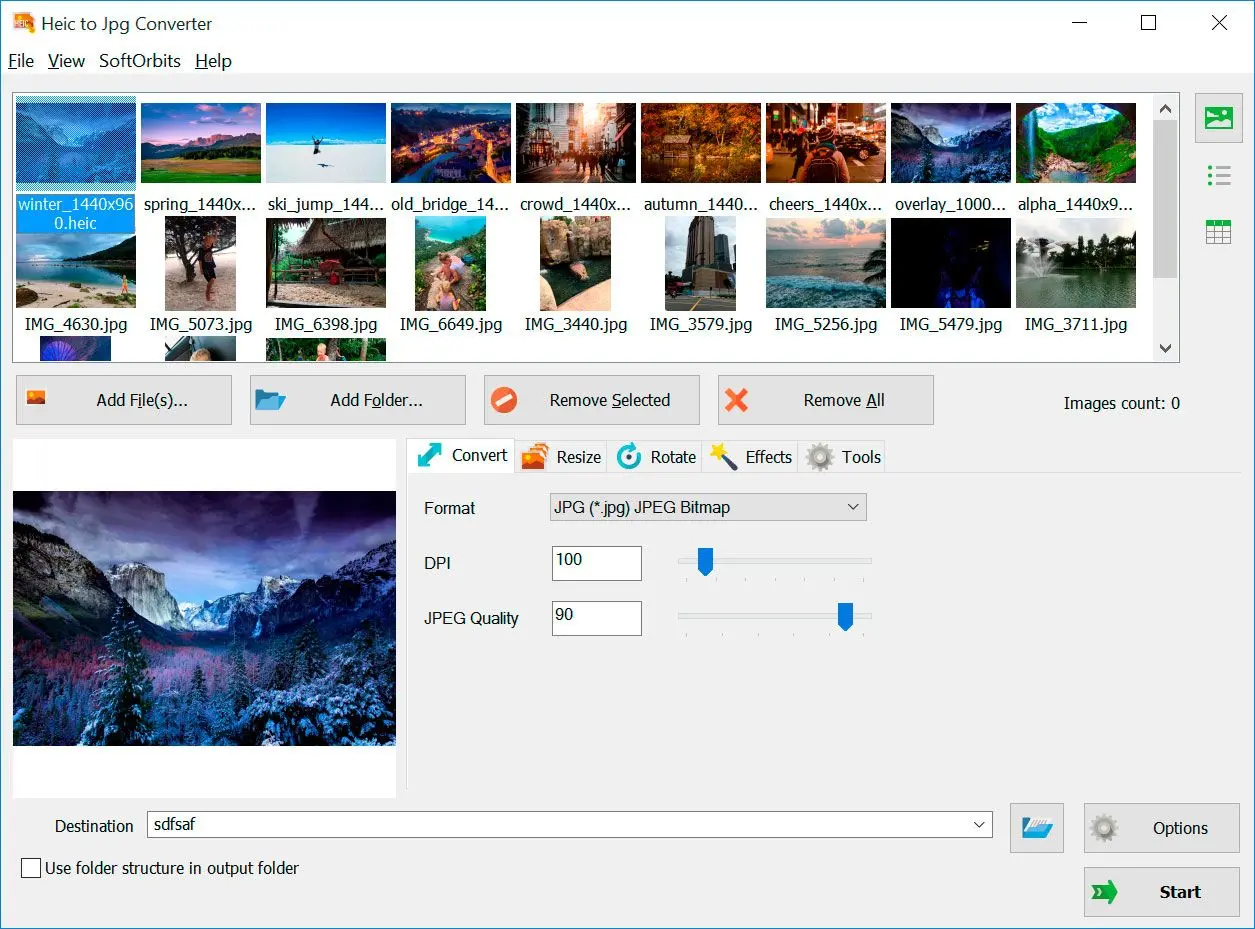
 HEIC to JPG Converter
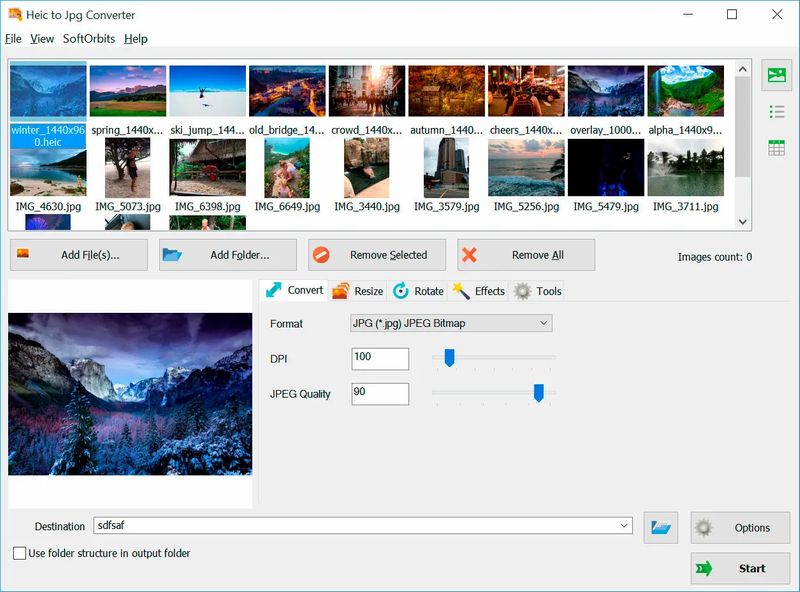